10 Tips for Using the Edit Page in DaVinci Resolve
DaVinci Resolve’s Edit page is where many video editors spend the majority of their time. It can take hours to trim the timeline, choose the right clips to use, and make sure the transitions fit with the music’s beat.
Though video editing can be a time-consuming process, there are ways to help video editors not become overwhelmed. Here are several tips for DaVinci Resolve’s Edit page to use the next time you edit a video.

1. Use Timeline Resolution Change
If you’ve started editing your video and realized you forgot to change the timeline resolution, don’t fear. It’s an easy fix that can be done within the Edit page.
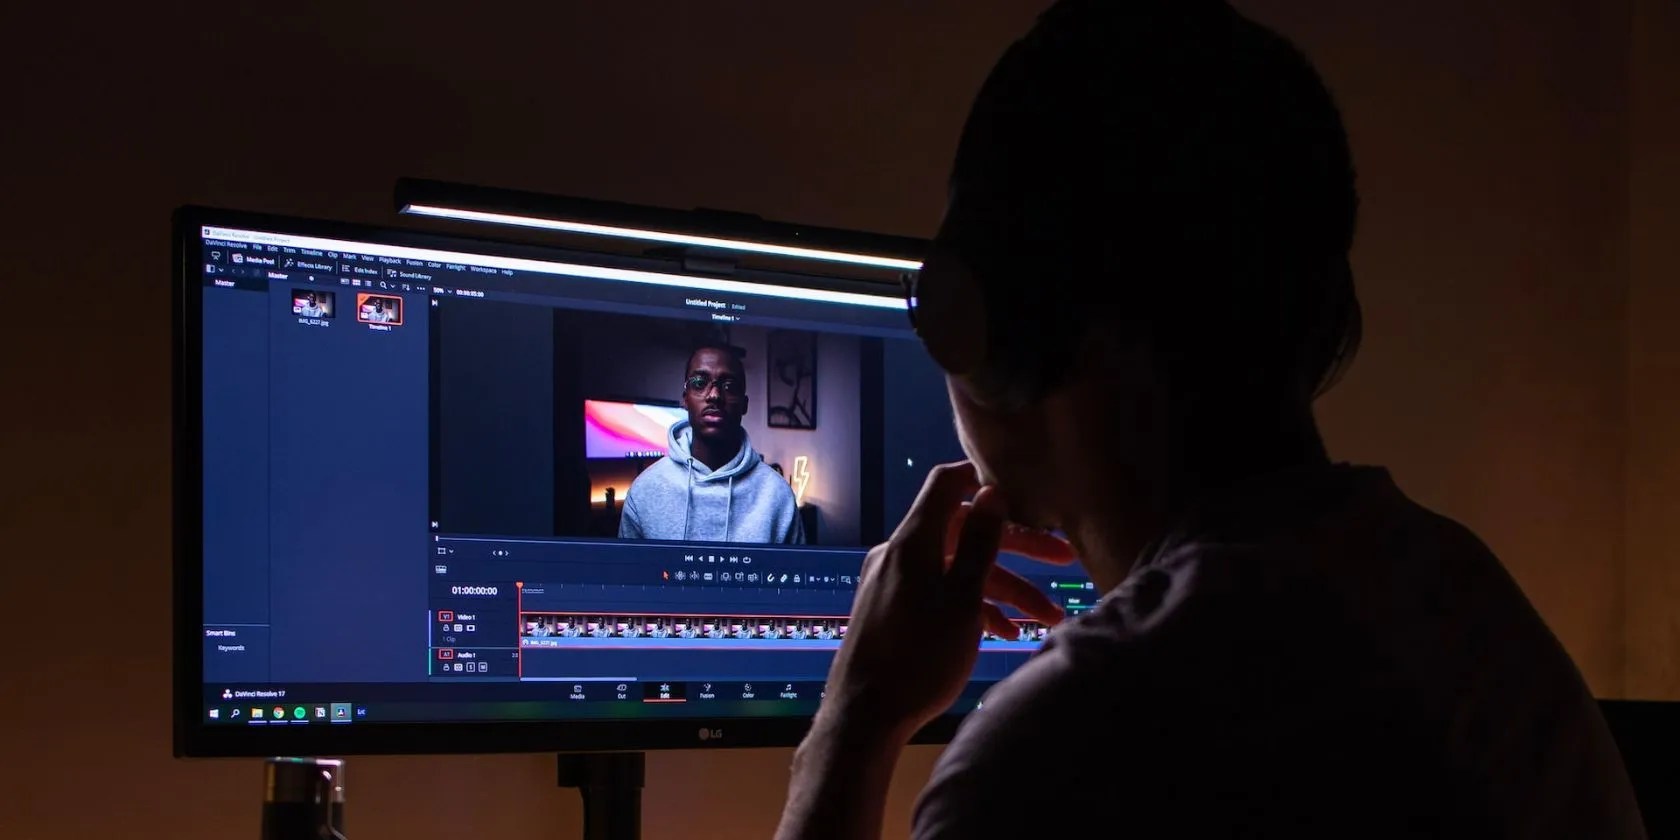
Right-click on the timeline clip under theMedia Pooland selectTimeline>Timeline Settings. Make sure to turn off theUse Project Settingsto be able to make changes.

Screenshot by Sam Wolfe; no attribution
From here, you’ll be able to change your timeline resolution. If you want to resize the resolution from landscape to portrait view, check the box next toUse Vertical Resolutionto do that. You can alsochange the frame rate of your footage in Resolveif needed.
![]()
2. Create Transition Presets
Transitions are effects used to help videos move effortlessly from scene to scene.DaVinci Resolve already has several premade transitionsthat editors can place in their videos—however, what about the transitions that have been modified? Can those be saved?
After you have a transition in place on the timeline and have made any needed modifications in theInspectortab, it’s time to save it as a transition preset. Right-click on the transition, selectCreate Transition Preset, title your preset, and clickOK.

In theEffectstab underVideo Transitions, scroll down until you see theUsersection. Your newly created transition will be there to drag and drop onto the timeline whenever you need it.
3. Duplicate Anything on the Timeline
There are times when you may need the same clip more than once. So instead of copying and pasting it, simply use a shortcut.
When you press theAlt/Optionkey, you could select any clip and drag it to duplicate it. It’s always nice to have quick keyboard shortcuts at your disposal whenever you’re video editing.
4. Use Multiple Bins to Organize Your Media
It’s important to stay organized when editing your videos, and DaVinci Resolve has three different types of bins that can help with that:Bins,Power Bins, andSmart Bins.
Bins are the bins that will appear in theMedia PoolunderMasterand are used to organize clips for the one project you are working on. To create a bin, right-click underMasterand selectCreate Bin.
Power Bins work the same way as regular Bins, but they can be shared within all projects.Using Smart Bins in DaVinci Resolvecan organize your media based on the type of clip the media is. To use Power Bins and Smart Bins, make sure they are selected by going to the three dots icon and checkmarking the bins you want to use.
5. Quickly Lower an Audio Track
If you want your audio track to be lowered at a specific rate, you can go into theInspectortab and use the keyframes. However, if you’re not picky and don’t want to do such a time-consuming task, there’s a much quicker solution to lower an audio track and have it sound natural.
Simply cut the audio clip where you want the sound to soften and lower the audio of the second clip. Go into theEffectstab, openAudio Transitions, and drag and dropCross Fade 0 dBto the cut line between your audio clips. Play your video and notice the seamlessness of your audio clip lowering.
Additionally, this process can also be used to bring your audio back up.
6. Add Frequently-Used Effects to a Favorites Folder
Like many video editors, several effects are loaded within theEffectstab that are used more frequently than others. Instead of opening tab after tab to retrieve the effect each time, why not add it to a favorites list?
Next to any effect within the Effects tab, there will be an unhighlighted star to the right. Click that star to highlight it, and the effect will show up in the left-hand toolbar underFavorites. From there, you can drag and drop your most used effects to the timeline without having to look too long for them.
7. Make Use of the Timeline Markers
Timeline Markers are a great way to mark certain parts of your video. One way editors use them is to mark the beats of music to align your video clips to them.
If you want to mark a spot within your video clip, make sure the clip is highlighted and click on theMarkericon below thePreview Window. If you want to mark a spot within the timeline, make sure your red cursor is in the correct spot and click on theMarkericon.
To add notes to your markers, change the color, and name them, just click on the marker and a box will appear with all the custom options available.
8. Take Advantage of the Color Clip Option
If you have several sections of a video, it may be a good idea to keep them separated by color-coding them. It doesn’t affect the flow of the video—it just merely allows you to have a visual aid for where your sections begin and end in the entirety of the video.
To use the color clip option, click on one or multiple clips, right-click, selectClip Color, and choose your color. Your whole clip will change, and you’ll be able to see the color no matter how much you zoom out.
9. Use Retime Controls
Retime Controls help with all your speed needs. Right-click on the clip you need to edit, selectRetime Controls, and the Speed Change option will appear on your clip.
From here, you can add speed points, reverse the clip, change the speed, rewind, and even add a speed ramp. It’s definitely easier to have all your speed options in one place on top of the clip.
10. Utilize the Different View Options
Below thePreview Windowon the left, there is an icon forTimeline View Options. If you click this, a window will open. There are several different options here for Timeline, Video, and Audio View Options along with Track Height.
In the Video View Options, you may look at the clip’s imaging or remove it altogether. The Audio View Options allow you to see the wavelengths in several different ways. Play around with the icons until you’re happy with how the timeline looks. It’s important to have your timeline and clips set in the display that you feel works best for you.
Video Editing Made Easier in DaVinci Resolve
These are only a few of the features that the Edit page has to help make video editing easier for you. However, whether you’re a beginner editor, or you’ve spent some time in front of the program, they’re good tips to know.
Make sure to take advantage of the features on DaVinci Resolve’s other pages to really hone your video editing skills on the software.
Don’t overlook the Cut tab in DaVinci Resolve. Here’s how you can get the most out of it.
The fix was buried in one tiny toggle.
Some subscriptions are worth the recurring cost, but not these ones.
So much time invested, and for what?
Freeing up vital memory on Windows only takes a moment, and your computer will feel much faster once you’re done.
Don’t let someone else take over your phone number.
