How to Code Your Arduino Board
With a budding community always making easy-to-follow and fun projects, you’ll never run out of ideas for what you can do with an Arduino microcontroller board.
Sign up forfree
Forgot your password?
Create an account
*Required: 8 chars, 1 capital letter, 1 number
By continuing, you agree to thePrivacy PolicyandTerms of Use.You also agree to receive our newsletters, you can opt-out any time.

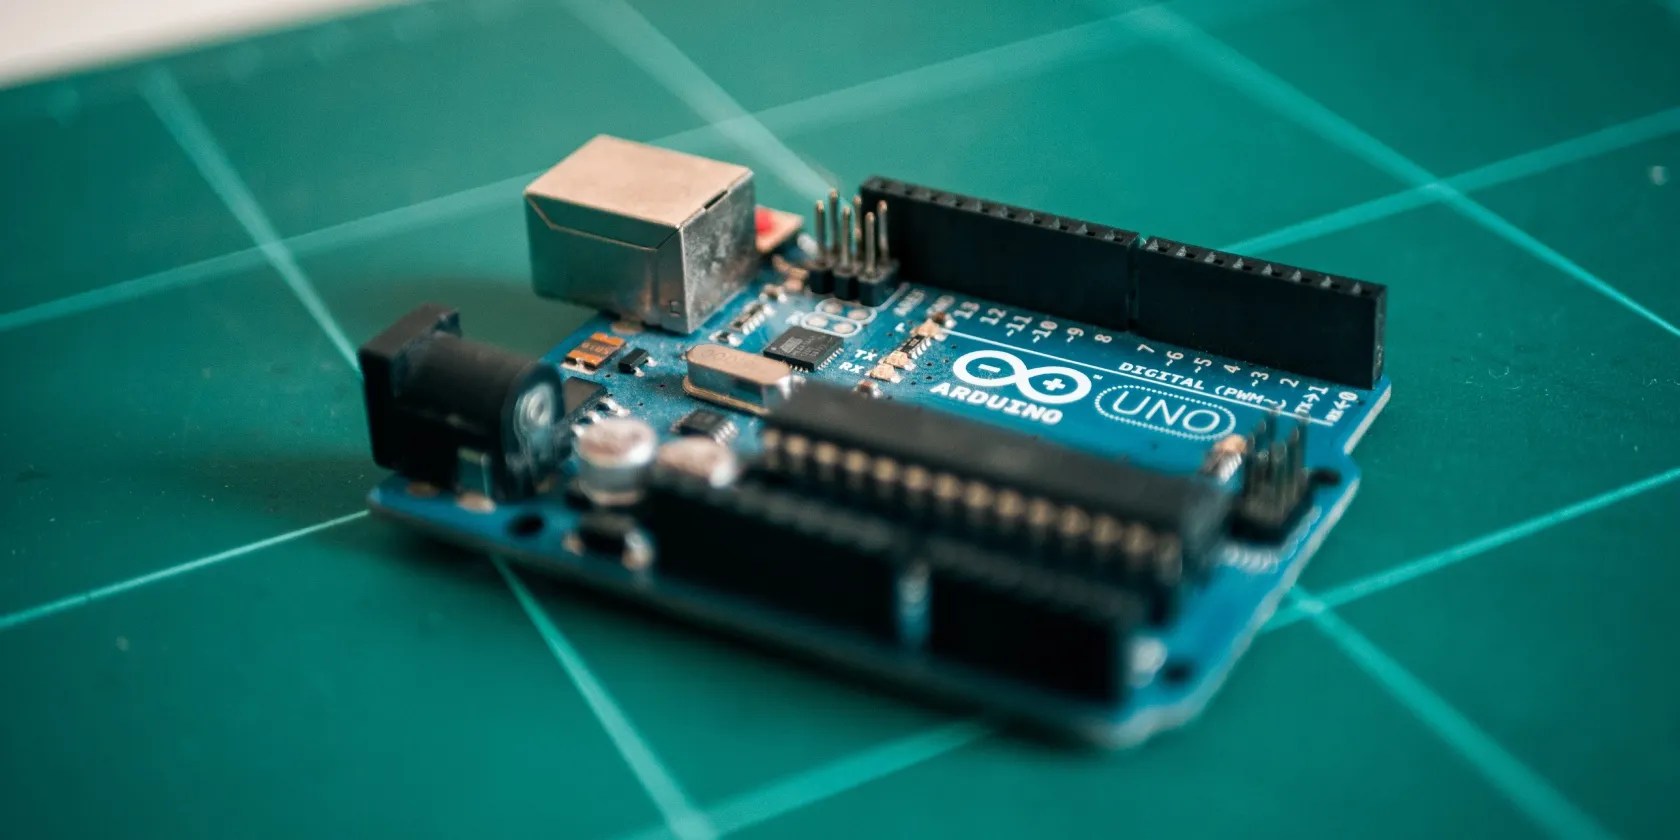
What Is an Arduino?
Arduino is an open-source prototyping platform. It’s easy to use, features a GPIO header for connecting sensors and other electronic components, and has a relatively simple programming language. The boards come in different shapes and sizes, from as small as the Arduino Nano for deployable projects to the Arduino Mega 2560 for projects with more hardware. Read ourArduino beginner’s guidefor more information on the platform.
How to Program an Arduino
Programming an Arduino is as simple as plugging hardware into one. All you need is an Arduino board, an appropriate USB cable (check which type of USB port your Arduino has), and a computer to get started. You’ll be using the Arduino Programming Language based on C++.
While it has adownloadable IDE, it’s possible to also use your web browser to code Arduino. Do keep in mind that you’ll have to install the Arduino Agent if you’re using the browser-based IDE – the first time you try it, you’ll be asked to download and install the Agent before you can get to coding.
Components of an Arduino Program
Arduino programs are called sketches. They’re usually written in two main functions:
As you would with any other program or script, any important libraries and values are declared and imported before the two functions mentioned above. Based on your requirements, you’re free to add more functions if you’d like.

You can use the Serial Monitor to see the data that your Arduino is sending over the serial USB connection. The Serial Monitor is also used for interacting with the board using your computer or other capable devices. It also includes a Serial Plotter which can plot your serial data for better visual representation.
Using Basic Components With Arduino
We’ll be making a small setup where the Arduino can read the input of a button and light an LED based on whether it’s pressed or not. Before we get to coding though, we need to wire up our hardware. You’ll need the following items:
Follow the wiring diagram below to connect everything properly. Pay special attention to the GPIO (General Purpose Input Output) pin that each wire connects to on the Arduino board.

Once all the hardware is wired up, go ahead and copy-paste the following code into the online IDE. You’ll find comments throughout the code to better explain what each part is doing.
There’s more to the Arduino than just LEDs and buttons though. Let’s go over some more advanced code that integrates a distance sensor and buzzer instead.

Using an Ultrasonic Sensor With Arduino
Your Arduino can read sensor data and interact according to its surroundings. We’re going to hook up an HC-SR04 ultrasonic distance measuring sensor and a buzzer to the board to make a proximity alarm.
Here’s what the code looks like; you’ll find line-by-line explanations throughout.
How to Run an Arduino Program?
Now that you’re ready with the hardware and code, it’s time to upload the code to your Arduino. Follow these steps.
As soon as you click the Upload button, you’ll start seeing activity in the black console window underneath. Assuming your Arduino is working and properly connected, your code will be uploaded and you can start testing out your project.
Microcontrollers Can Be Fun
Microcontrollers like Arduino are a great way to get into the world of DIY electronics. Arduino for kids is an especially great activity. Once you learn how to code Arduino, more powerful boards like the Raspberry Pi open up an entirely different world of opportunities in terms of what you can build with just a few basic sensors and some lines of code.
The Arduino and Raspberry Pi may look quite similar – they’re both cute little circuit boards with some chips and pins on them – but they are in fact very different devices.
You can block out the constant surveillance and restore your privacy with a few quick changes.
Don’t let someone else take over your phone number.
I gripped my chair the entire time—and then kept thinking about it when the screen turned off.
Who asked for these upgrades?
Not all true crime is about hacking, slashing, and gore.
